Why Your Grips Keep Slipping
Bike handlebar grips have gotten complicated with all the conflicting advice flying around. As someone who learned about grip failure mid-descent on a rocky trail outside Moab, I learned everything there is to know about why grips slip and how to fix them fast. Today, I will share it all with you.
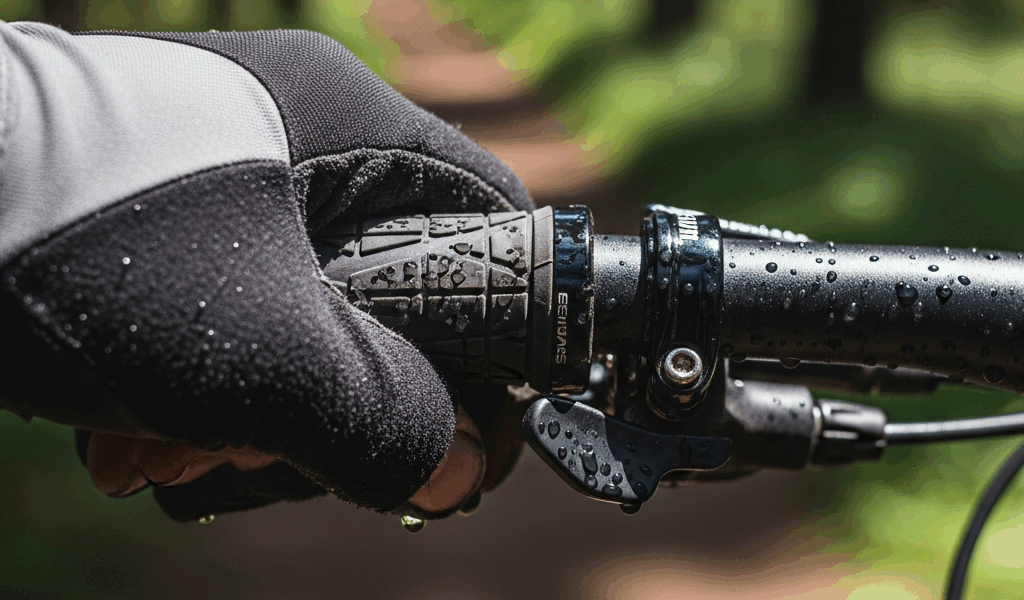
My right hand twisted on the bar without warning — nearly a full inch of rotation on a technical descent. Heart rate spiked. I was gripping mostly air and aluminum. Not great.
Most slipping comes down to one of two things: your grip material has gone dead from months of use, or it was never installed right in the first place. Worn rubber is the quiet villain here. Compounds harden. Foam compresses flat. That textured surface that once grabbed your palm? Polished smooth from thousands of revolutions.
Installation mistakes are just as common, though. Sweat pools under slip-on grips and creates a slick layer between rubber and bar — basically a built-in lubricant. I’ve watched riders install grips in January when cold rubber barely stretches, then act surprised when everything spins loose by April. Lock-on grips fail differently. The clamp bolt backs out from vibration. The clamp ring cracks under stress. Bar end plugs that aren’t fully seated let the whole grip shift forward and rotate. Different causes, different fixes.
How to Tell Which Type of Grip You Have
This distinction matters because the fix is completely different. You have either lock-on grips or slip-on grips. Period.
But what is a lock-on grip? In essence, it’s a grip with a metal or composite clamp ring on one or both ends and a visible hex bolt holding everything to the bar. But it’s much more than that — the clamp ring is your quick identifier. Look for a small cylindrical band where the grip meets the handlebar. If you see a bolt, usually Allen key, you’ve got lock-ons. They’re secure by design but can absolutely loosen with enough trail vibration.
Slip-on grips have zero hardware. Pure rubber or foam sliding directly onto bare aluminum. No bolts, no rings, nothing. Lighter and cheaper — but they depend entirely on friction and adhesive. That’s it. That’s the whole plan.
Fixing Lock-On Grips That Slip
Start with the bolt. Grab a 3mm Allen key — that’s standard for most modern lock-ons, though some brands use 2.5mm or 4mm, so check before you strip anything. Tighten the clamp bolt slowly. You’re targeting somewhere around 2 to 3 Newton-meters of torque. No torque wrench? Apply moderate pressure. Not hand-tight. Not gorilla-tight. Somewhere in between that you’ll develop a feel for over time.
Probably should have opened with this warning, honestly — I overtightened a clamp bolt on a set of ODI Rogue grips last spring and cracked the clamp ring cleanly in two. That was a $35 lesson I didn’t need to learn that way. Don’t make my mistake.
- Check both ends if it’s a dual-bolt setup — one loose clamp undoes everything the tight one accomplished
- Inspect the clamp ring for visible cracks or splits before you ride again
- Pull the bar end plugs and confirm they’re fully seated — a loose plug lets the grip creep forward by millimeters per ride
- Tighten in quarter-turn increments and test rotation after each one
If the grip still spins with the clamp bolt properly tight, the inner sleeve is stripped. The metal or plastic core has worn smooth and lost purchase. No amount of tightening fixes that — replacement is the only real answer here.
Most quality lock-on grips run $25 to $60 a pair. Ergon, ODI, and FSA all hold up well through hard use. I’m apparently a heavy sweater and ODI Elite works for me while cheaper department store hardware never lasts a full season. The cheap stuff fails faster because the clamp mechanism uses softer metal that strips at the first sign of real torque.
Fixing Slip-On Grips That Slip
This requires patience — at least if you want the fix to actually last. Skip WD-40 entirely. It’s a penetrating lubricant, not a bonding agent, and spraying it anywhere near your grips makes everything dramatically worse.
- Remove the grip completely by twisting and sliding it off the bar
- Clean the handlebar with isopropyl alcohol on a rag — dried sweat, dust, and old adhesive residue all have to go
- Let the bar sit in open air for at least five minutes
- Apply grip glue — Lizard Skins makes a solid one, most grip manufacturers sell their own — around the inside of the grip, or use hairspray as a budget alternative
- Slide the grip back on and twist it into final position
- Let it cure for a full 24 hours before riding. Non-negotiable.
Hairspray might be the best budget option, as slip-on installation requires something that dries tacky rather than wet. Aqua Net — yes, that Aqua Net — dries fast and creates enough adhesion to hold grips through months of regular riding. Grip-specific glue runs $8 to $12 per tube and is more reliable, but hairspray has saved me twice when I had nothing else in the garage.
Foam grips are a separate problem. They age faster than rubber — compressing over time and losing their original diameter. Even freshly cleaned and re-glued, compressed foam won’t grab the bar the way it did when new. Once you can see the bar’s shape pressing through the foam from the outside, resurrection isn’t worth the time. That’s a replacement situation.
When to Replace Grips Instead of Fixing Them
Some damage doesn’t come back from. Visible cracks, tears, hardened rubber with no texture left — repair adhesive won’t save any of that. Foam compressed flat is done. A grip that’s spun so many times the inner structure deformed and lost its shape won’t reinstall correctly — it’s stretched past the point of recovery.
Replacement grips come in standard diameters — usually 30mm, 32mm, or 33mm — and lengths running 120mm to 135mm. Match those specs to your current bars exactly. Rubber compounds vary. Soft and tacky works well in cold and wet climates. Harder compounds last longer in dry heat. I ride in Colorado dust most of the summer and run a medium-durometer rubber that splits the difference.
Budget $40 to $80 for a replacement set that holds up through two-plus years of regular riding. Cheap grips in the $15 to $25 range slip faster and wear through quicker — that’s just physics catching up with the materials. Mid-range grips in the $40 to $60 window hit the practical sweet spot for most riders. Premium options above $70 add cushioning or ergonomic shaping, but the core function doesn’t change. That’s what makes a solid mid-range grip endearing to most of us who just want to keep our hands on the bars.

Stay in the loop
Get the latest adventure cycling world updates delivered to your inbox.