Why Your Chain Keeps Falling Off
Dropped chains have gotten complicated with all the conflicting advice flying around. As someone who ran a mobile repair stand at local races for three full seasons, I learned everything there is to know about diagnosing this problem fast. Today, I will share it all with you.
Here’s the short version: your chain is dropping for one of three reasons. A misadjusted front derailleur. A stretched chain. Or teeth so worn they look like shark fins. That’s it. One of those three applies to your bike right now — probably only one.
The front derailleur’s limit screws decide how far the cage travels inward and outward. Push too far inward, the chain falls toward the frame. Too far outward, it goes over the big ring entirely. A stretched chain loses tension and sags between teeth — the pins and rollers wear over time, and the whole thing just goes slack. Worn chainring teeth can’t grip properly anymore, so even a brand-new chain will skip and drop. That’s what makes this diagnosis so frustrating to us riders who just want to pedal.
Figure out which problem you actually have before touching anything. Seriously. Chasing phantom issues wastes an afternoon.
Check Your Front Derailleur Limit Screws First
Probably should have opened with this section, honestly. Most dropped chains trace back here — limit screws that drifted after a crash, a rough shift, or just months of road vibration doing their thing.
But what is a limit screw? In essence, it’s a small set screw that stops the derailleur cage from traveling too far in either direction. But it’s much more than that — it’s the whole reason your chain stays on the ring instead of falling off the edge.
Almost every derailleur labels them L and H right on the body. L controls inward movement toward the frame. H controls outward movement toward the big ring. Chain dropping inward while you’re on the small ring? That’s your L screw. Dropping outward over the big ring? H screw. Simple as that.
So, without further ado, let’s dive in. Shift down to the small chainring first. If the chain is dropping inward, find the L screw — it usually sits closer to the frame side of the derailleur. Turn it clockwise. Quarter turns only. Shift, look at the cage position, repeat. You want roughly 1–2 millimeters of clearance between the cage and the chain. Not a gap you can fit a pencil through. Just close.
For the H screw, shift up to the big ring. Same clearance target on the outside of the chain. Dropping outward means you turn counterclockwise — again, quarter turns, check after each one. Don’t rush it.
If adjusting the screws doesn’t fix it, look at the derailleur cage height and angle. The cage should sit parallel to the chainring — not tilted, not canted. A bent derailleur hanger throws off the entire geometry. The hanger is that small metal bracket bolted to your frame, and it bends surprisingly easily in a crash. You’ll need a proper alignment tool to fix it — a Park Tool DAG-2.2 runs about $75 — or just take it to the shop. Don’t make my mistake of trying to eyeball a bent hanger and calling it good.
How to Tell If Your Chain Is Actually Worn Out
A stretched chain might be the best explanation here, as chain wear requires a specific type of measurement. That is because chains don’t stretch the way a rubber band does — the pins and rollers just wear gradually, and the distance between pin centers grows until the whole pitch is off. At 0.5% elongation, you’re borderline. At 0.75%, the chain is done. Replace it immediately.
While you won’t need a full workshop, you will need a handful of basic tools. First, you should grab a chain wear indicator — at least if you want a fast, accurate answer. Park Tool’s CC-3.2 costs about $14 at any shop. Hook it onto a link, see which notch it falls into. The 0.5 notch means some life remains. The 0.75 notch means buy a new chain today.
No wear checker? Use a steel ruler. Measure 24 links pin-center to pin-center on a standard road chain — that’s 12 inches exactly when new. If your worn chain reads 12.125 inches or more across that same span, it’s stretched enough to cause dropping and skipping.
I’m apparently someone who pushes chains too long, and the CC-3.2 works for me while eyeballing the wear never does. Most road bike chains last 3,000–5,000 miles. Mountain bike chains with aggressive shifting wear faster — sometimes half that.
Here’s the part most people miss: a worn chain damages your cassette and chainring while it’s wearing out. I learned this the hard way — replaced a stretched chain, installed a fresh one, watched it skip immediately on cogs that had already molded themselves to the old chain’s worn pitch. A new chain on a worn cassette is like putting new tires on a car with a bent axle. Buys you a little time. Not much. Check the cassette cogs and chainring teeth when you replace a chain. Hooked or shiny tips mean they go too.
Spotting Worn Chainring Teeth Before They Cause Problems
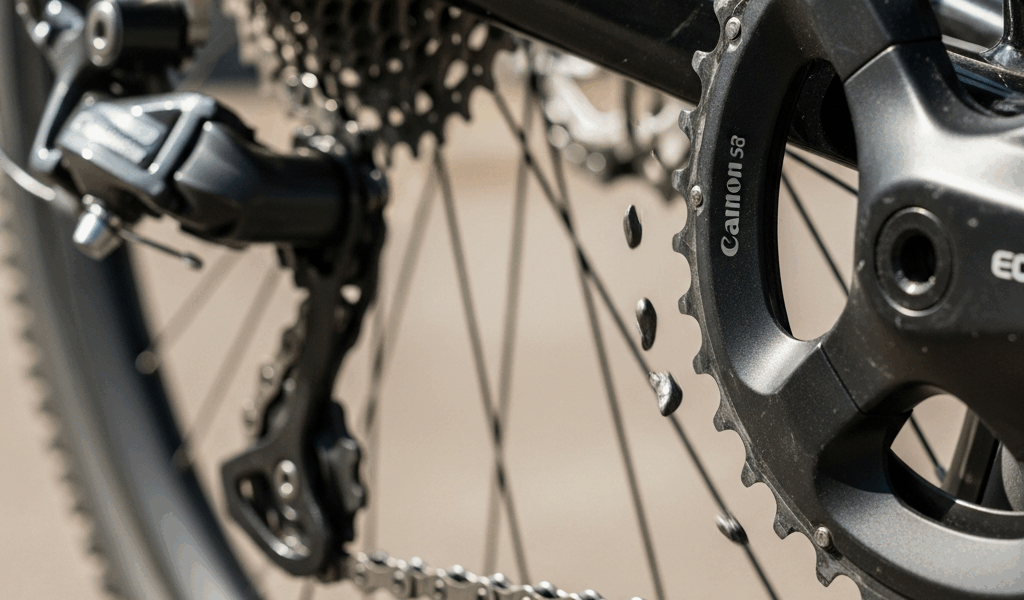
Worn chainring teeth tell a story. Healthy teeth have a symmetrical, slightly rounded profile — uniform all the way around the ring. Worn teeth look like shark fins. Asymmetrical, hooked forward in the direction of chain travel, with hollow valleys between them where the chain used to sit.
Run a finger across the teeth carefully — they’re still sharp enough to cut. Worn teeth feel smooth and almost polished at the tips. That shiny patch is a giveaway. You’ll also notice the chain drops specifically under load on climbs, because the hooked profile can’t hold grip when the chain tensions up. That’s what makes worn chainrings so maddening — everything feels fine on flat ground.
On a 1x drivetrain, all the wear concentrates on one single ring. No backup. On a triple setup, the small and middle rings wear faster because most riders live on those gears anyway.
A quick visual check in good daylight takes thirty seconds. Look at the ring from the side. More than half the teeth hooked or visibly asymmetrical? Replace it. Shimano, FSA, and SRAM all make replacement rings for standard 4-bolt and 5-bolt patterns. A basic aluminum road chainring runs $40–$60. A carbon or titanium-reinforced option from a brand like Wolf Tooth runs $80–$120. Don’t ignore this step — I’ve watched riders install a fresh chain on a four-year-old chainring and drop it on the very first climb. The old teeth had already shaped the chain to fit them. That was not a fun conversation.
Quick Habits That Stop the Chain From Dropping Again
Once the immediate problem is fixed, a few small habits keep it from coming back.
- Clean and lube the drivetrain every 200 miles — grit is the main enemy. A basic degreaser and a dry lube like Finish Line Dry ($8 a bottle) handles it. Takes ten minutes.
- Check limit screws every six months or after any crash — derailleur hangers move. A quick quarter-turn recalibration costs you thirty seconds.
- On a 1x drivetrain, consider adding a chain guide — MRP and Wolf Tooth both make solid options in the $45–$80 range. Not mandatory on road bikes, but on gravel or mountain terrain it eliminates drops entirely on rough descents.
- Inspect chainring teeth every time you lube — catching wear early means replacing a $50 chainring instead of a $50 chainring plus a $40 cassette plus your afternoon.
Replace your chain every 2,000–3,000 miles on a road bike. Check the drivetrain quarterly — not yearly, quarterly. Do those two things consistently and you’ll almost never see a dropped chain again. Genuinely that straightforward.


Stay in the loop
Get the latest adventure cycling world updates delivered to your inbox.