Getting into gravel biking has gotten complicated with all the gear recommendations and “you need this” lists floating around. As someone who made the switch from road cycling three years ago—and made plenty of expensive mistakes along the way—I learned everything there is to know about starting out on unpaved roads. Today, I’ll share what actually matters and what you can skip.
Probably should have led with this: I spent $800 on upgrades I didn’t need in my first year of gravel riding. The bike I started with was perfectly capable. What I actually needed was better tires and more time on dirt roads building skills.
What Makes Gravel Biking Different?
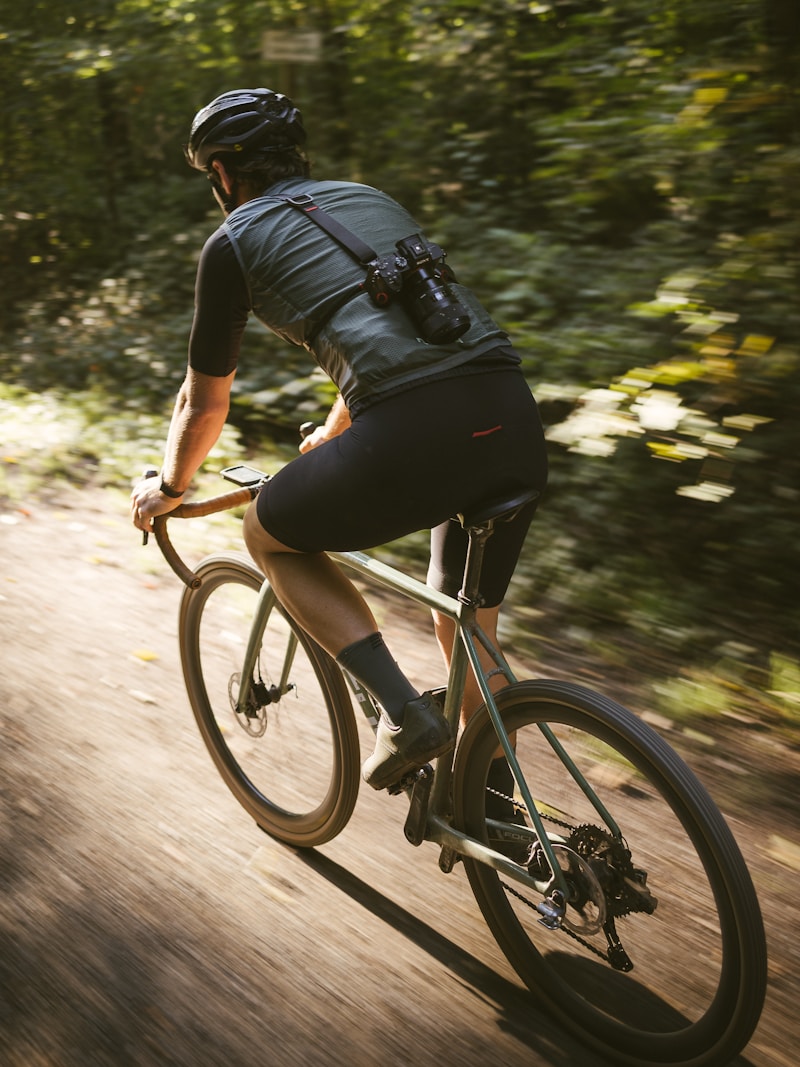
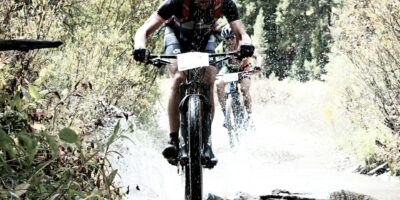
Gravel riding sits between road cycling and mountain biking. You’re on a drop-bar bike that looks similar to a road bike, but with wider tires, more relaxed geometry, and the capability to handle unpaved surfaces—dirt roads, gravel paths, forest service roads, and light singletrack.
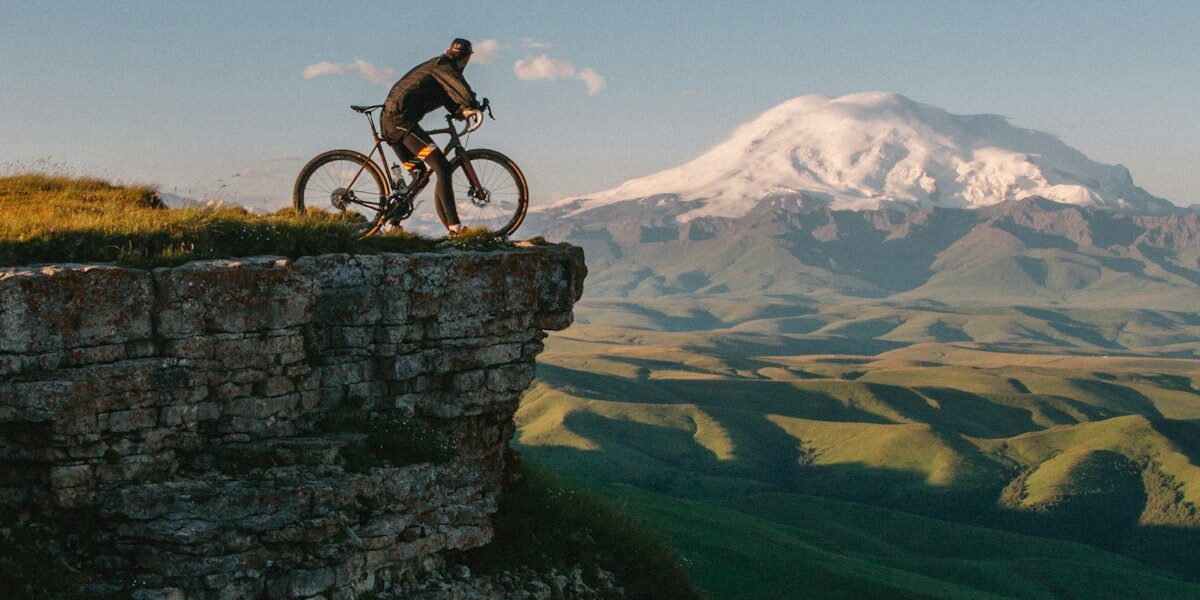
That’s what makes gravel bikes endearing to us adventure-hungry cyclists—access. These bikes open up thousands of miles of roads that road bikes can’t handle and let you cover far more ground than a mountain bike. I regularly string together pavement, gravel, and dirt into 60-mile loops that would be impossible on any single-purpose bike.
Choosing Your First Gravel Bike
Frame Geometry
Gravel bikes feature more relaxed geometry than road bikes—longer wheelbases, slacker head tube angles, and lower bottom brackets. This translates to stability on loose surfaces and comfort over long distances. Look for:
- Tire clearance of at least 40mm (preferably 45mm+)—this matters more than frame material
- Multiple mounting points for bags and bottles
- Disc brakes (essential for consistent stopping in all conditions)
Budget Reality
Quality entry-level gravel bikes start around $1,200-1,500. At this price, you’ll get an aluminum frame with reliable components. Carbon frames start around $2,500 and offer weight savings and improved vibration damping. For beginners, aluminum is perfectly capable—I rode my aluminum gravel bike for two full seasons before upgrading, and honestly, I miss it sometimes.
Models I’d Actually Recommend
- Specialized Diverge Base E5
- Trek Checkpoint ALR 4
- Cannondale Topstone 4
- Giant Revolt 2
- Salsa Journeyer
Gear That Actually Matters
Tires (This Is Where to Spend Money)
Tires make the biggest difference in gravel performance. Start with 38-42mm tires with moderate tread. Run them tubeless if possible—lower pressures improve grip and comfort while virtually eliminating flats from thorns and small punctures. I used to flat twice a month on tubes. Haven’t had a flat in 8 months since going tubeless.
Tire pressure guidelines:
- 140-160 lb rider: 28-35 psi
- 160-180 lb rider: 32-40 psi
- 180-200+ lb rider: 35-45 psi
Lower pressure on looser surfaces, higher on hardpack and pavement sections. I usually run about 35 psi front, 38 rear at 175 lbs.
Hydration and Nutrition
Gravel rides often venture far from convenience stores. Carry more water and food than you think you’ll need. I learned this lesson running out of water 15 miles from my car on a hot August ride:
- Minimum two large bottles for rides under 2 hours
- Hydration pack for longer adventures
- 200-300 calories of food per hour of riding
Repair Kit
Self-sufficiency is critical in remote areas. Always carry:
- Spare tube (even with tubeless—for emergencies)
- Tire plugs and tubeless sealant
- Multi-tool with chain breaker
- Mini pump or CO2 inflator
- Tire levers
Finding Gravel Routes
Digital Resources
- Gravelmap.com: Community-sourced gravel road database—this is where I find 80% of my routes
- Ride with GPS: Route planning with surface type filters
- Komoot: Excellent for discovering unpaved routes
- Strava Heatmaps: Shows where other cyclists ride
Local Knowledge
Connect with local gravel riding groups on Facebook or through bike shops. Experienced local riders know which roads are maintained, which are seasonal, and which to avoid. I’ve discovered some of my favorite routes through post-ride conversations with other riders.
Starting Simple
For your first rides, look for:
- Rail trails and canal towpaths
- Well-maintained county roads
- State and national forest roads
- Agricultural roads (check access permissions)
Riding Technique for Gravel
Body Position
Keep your weight balanced and centered. On descents, shift your weight slightly back. On climbs, move forward to maintain front wheel traction. Relax your grip—death-gripping the bars transmits every bump to your body. This took me months to learn; my hands used to cramp every ride.
Cornering
Gravel corners require different technique than pavement:
- Enter corners wider and slower than you would on pavement
- Keep the bike more upright—lean your body, not the bike
- Look through the corner to your exit point
- Avoid braking mid-corner (I washed out twice before this sank in)
Loose Surface Handling
When you hit loose gravel or sand:
- Stay relaxed and let the bike move beneath you
- Maintain steady pedaling pressure
- Avoid sudden steering inputs
- Look ahead, not at the obstacle directly in front of you
Building Your Gravel Fitness
Gravel riding is demanding—you’re often on surfaces that require more power than pavement. Start with shorter rides (15-25 miles) and gradually increase distance as your handling skills and fitness develop. I made the mistake of attempting a 50-mile gravel ride my second week out. I finished, but I was destroyed for days.
Suggested progression:
- Weeks 1-2: 15-20 mile rides on easy gravel
- Weeks 3-4: 25-30 mile rides with some hills
- Weeks 5-6: 35-40 mile rides with mixed terrain
- Week 7+: Attempt your first metric century (62 miles)
Mistakes I Made So You Don’t Have To
- Tire pressure too high: I ran 50 psi my first month because that’s what I ran on road tires. My rides improved dramatically when I dropped to 35 psi.
- Underestimating distance: Gravel miles take longer than road miles—a 40-mile gravel ride feels like 50 on pavement. Plan accordingly.
- Poor navigation planning: Download maps for offline use—cell service is often spotty. I’ve gotten lost more times than I’d like to admit.
- Inadequate supplies: There are no convenience stores on forest roads. Carry everything you need.
- Going too hard too soon: Save energy for the second half of the ride. The last 15 miles on tired legs and a loose surface can be humbling.
Finding Your Community
Gravel riding has one of the most welcoming communities in cycling. Look for local group rides, gravel events, and online communities. Most areas now have gravel-specific events ranging from casual fun rides to competitive races.
The beauty of gravel is that it’s not about speed or competition for most of us—it’s about exploration, adventure, and discovering roads you never knew existed. Start with a curious mindset and you’ll find a lifetime of routes waiting to be explored. Three years in, I’m still finding new roads within 20 miles of my house.