What That Click Is Actually Telling You Before You Touch Anything
Diagnosing a clicking bike has gotten complicated with all the conflicting advice flying around. Forums say bottom bracket. Your riding buddy says cleats. YouTube says replace everything. Meanwhile, you’re three weeks in and the noise is still there.
As someone who has chased mysterious clicks across four different bikes — including one that turned out to be a $0.00 fix involving a dry seatpost — I learned everything there is to know about isolating these sounds before touching a single bolt. Today, I will share it all with you.
Spend five minutes riding before you grab any tools. Ask yourself very specific questions. This triage step alone eliminates most of the guesswork.
Does the click happen on every single pedal stroke, or randomly? This matters enormously. A rhythmic click syncing with your cadence — every stroke, like clockwork — points toward pedals, cleats, or crank arms. Sporadic clicks that come and go usually mean something loose in the frame or seatpost, rattling only under specific loads.
Does it happen under hard effort, or even when you’re barely spinning? Load-dependent clicks often live in the bottom bracket or crank system. A noise that persists whether you’re sprinting or just coasting along usually traces back to the seatpost, saddle, or a frame connection point.
Where do you actually hear it? Left side or right side? Stand out of the saddle. Sit back down. A click that disappears the moment your weight leaves the saddle almost always lives in the seatpost area. I learned this the hard way — spent three weeks messing with chainring bolts before realizing the noise vanished completely when I stood up. Don’t make my mistake.
Does the click feel isolated to one spot, or does it seem to resonate through the whole frame? Bottom bracket noise is deceptive like that. It travels through the seat tube and chainstays, bouncing around until it feels like it’s coming from everywhere at once.
Write these answers down. Seriously. That checklist is your diagnostic foundation — everything else builds on it.
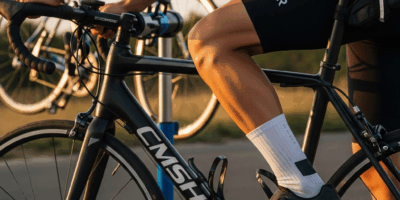
Pedals and Cleats Are the Most Common Culprits
Pedal and cleat issues account for roughly 40 percent of clicks I’ve chased down. That tracks with what every mechanic I’ve talked to reports. The system has so many small moving parts — springs, pivot points, contact surfaces — that can dry out or work loose over time.
Start with the obvious. Clip in and try to wiggle your pedals side to side at the crank arm. Zero movement is what you want. Any play at all means the pedal bolt has loosened. Pedal threads strip surprisingly easily on aluminum cranks, and loose pedals work their way further out with every stroke, creating that distinctive metallic click.
Grab a 15mm wrench or Allen key — Shimano SPD-SL pedals use different tooling than CrankBrothers Eggbeaters or Look Keos, so check before you start. Tighten both pedals. Torque specs matter here. Most road pedals want 35–50 Nm. MTB pedals typically run 20–30 Nm. Over-torquing strips threads fast.
Now inspect your cleats. Look at the contact surface where the cleat interfaces with the pedal platform. Dried mud, road salt, or corrosion buildup changes how everything sits together — creating tiny micro-movements that click under load. A $12 bottle of chain lube and 60 seconds of cleaning prevents hours of frustration. I apparently need reminders about this every single season, and keeping a small bottle in my kit now works for me while ignoring it never did.
That little spring-loaded pivot point — the mechanism that lets your foot rotate before releasing? If it’s dry or gunked up with road grime, it clicks under load. Wipe the cleat interface clean with a dry brush. Apply a thin coat of chain lube directly to the pivot point. Let it sit for a minute, then wipe off the excess. One application kills roughly half of all pedal-sourced clicks.
Here’s the test that actually works: unclip completely and ride in flat shoes, or just rest your foot on top of the pedal without engaging the cleat mechanism. If the click vanishes — you found it. If it persists, you’re looking somewhere else.
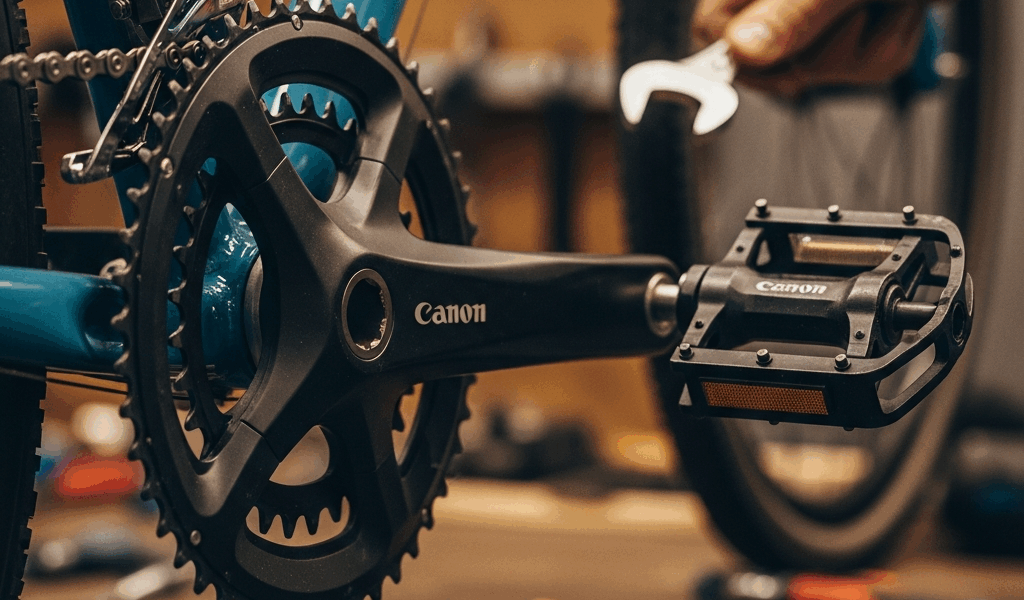
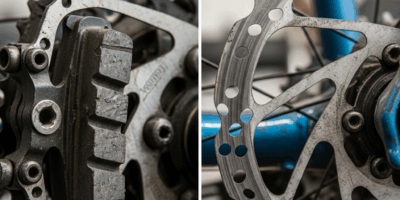
Bottom Bracket and Crank Arm Clicks That Feel Like They Come From Everywhere
Bottom bracket noise is the worst. It transmits through the seat tube, down the chainstays, and bounces around the whole frame until riders swear it’s the derailleur or the chainrings. It’s almost never the derailleur.
But what is a crank arm click, exactly? In essence, it’s a bolt that’s worked loose under the repeated flex of each pedal stroke. But it’s much more than that — because that single loose fastener creates a tick so perfectly synced with your cadence that it mimics four other problems simultaneously.
Grab an 8mm Allen key — that’s standard for most modern cranks — and reach into the crank arm from the non-drive side. Tighten the bolt holding the crank arm to the spindle. Firm resistance, not maximum torque. Most crank bolts want 34–54 Nm. No torque wrench? Err slightly tight rather than loose.
Check the drive-side bolt too. The one securing the chainring side of the crank. These loosen just as readily. Apply moderate pressure and confirm there’s no play.
The arm-wiggle test is diagnostic gold. Hold the frame still. Grab the crank arm and try to move it side to side. Zero movement is correct. Any play at all — you found the problem. That’s what makes this test endearing to us shade-tree mechanics who don’t want to pull the whole drivetrain apart unnecessarily.
Probably should have opened with this caveat, honestly: press-fit bottom brackets are notorious for noise, and DIY fixes often fail here. Press-fit BBs develop creaks when the fit is slightly off in either direction. A bearing sitting incorrectly in the shell creates friction and micro-movement on every stroke. You can often band-aid this by removing the crank, cleaning the BB shell and bearing cups with isopropyl alcohol, and reassembling with a thin coat of carbon assembly paste — Park Tool makes a good one, around $8, worth every penny. But if that doesn’t silence it, you need a shop with proper press-fit BB installation tools. Trying to DIY it further becomes a $200 mistake when you finally take it in.
Saddle, Seatpost, and Frame Noises That Mimic Drivetrain Problems
A dry seatpost kills more diagnostic productivity than almost any other noise source. Probably should have opened with this section, honestly, because it’s so common and such a fast fix when you catch it.
Your seatpost slides inside the seat tube. Over time — sweat, rain, road salt — the interface corrodes. The post moves fractionally with each pedal stroke, and that microscopic movement creates a click that sounds almost exactly like it’s coming from the drivetrain or bottom bracket. Thousands of riders have chased this click into a $120 new bottom bracket. The actual fix cost them zero dollars and ten minutes.
The isolation test: stand out of the saddle briefly while pedaling. Does the click disappear? Sit back down. Does it return? That’s your answer — the seatpost is the problem.
Remove the seatpost completely. Look at the insertion point. Corroded, grimy, dry? Clean it thoroughly with a dry brush and some isopropyl alcohol. Apply carbon assembly paste to the outer surface of the seatpost — enough to coat it evenly, not enough to drip. Reinsert and twist the post to distribute the paste. Wipe away the excess with a rag.
For aluminum seatposts sitting inside carbon frames, this step is essential. Dissimilar metals react. Corrosion accelerates. Carbon assembly paste acts as a buffer — creating a secure, quiet fit. Cost: $8. Time: 10 minutes. Percentage of mysterious clicks this solves: surprisingly, embarrassingly high.
While you’re down there, check the saddle rails. The clamp holding your saddle to the seatpost can loosen and create a click nearly identical to a bottom bracket sound. Tighten those saddle clamp bolts — usually Allen bolts on the underside of the post head — and confirm there’s zero movement between saddle and seatpost.
Quick Fix Checklist Before Your Next Ride
So, without further ado, let’s dive in. Work through this list in order. Most clicks disappear before you reach step five.
- Tighten both pedal bolts to spec using the correct tool — 15mm wrench or Allen key depending on your pedal system. Check for stripped threads while you’re there.
- Clean cleat contact points with a dry brush. Apply a thin coat of chain lube to the pivot mechanism. Test by riding briefly in flat shoes before clipping back in.
- Tighten both crank arm bolts and run the arm-wiggle test. Zero side-to-side play is the target.
- Remove the seatpost, clean the insertion point, and reinstall with carbon assembly paste.
- Tighten the saddle clamp bolts and confirm no movement between saddle and post.
While you won’t need a full workshop setup for this, you will need a handful of specific tools — 8mm and 4mm Allen keys, a 15mm pedal wrench, isopropyl alcohol, and a tube of carbon assembly paste. That’s it.
The whole process takes around 20 minutes if you move steadily. Ride for 10 minutes afterward and listen carefully. Gone? You’re done. Still there? You now know exactly which system it’s coming from — and your next steps are targeted instead of random.
If you’ve worked through all five steps and the noise persists, or if you don’t have the right tools to do any of this safely, schedule a shop visit. A mechanic with proper equipment — including a press-fit BB tool and a calibrated torque wrench — can diagnose whatever remains in under an hour. Sometimes that’s just the right call.
Stay in the loop
Get the latest adventure cycling world updates delivered to your inbox.